

The pump starts up, the motor is running, but the water isn’t circulating properly. If you look through the pre-filter cover, you can see an air pocket, bubbles, or even notice that the pump isn’t filling up with water properly.
In this case, before assuming that the pump is faulty, it is worth checking whether the engine has lost its prime, or there is air in the intake system.
In this guide, we’ll look at how to prime a swimming pool pump step by step, how to remove air from it, and what to check if the problem reoccurs.
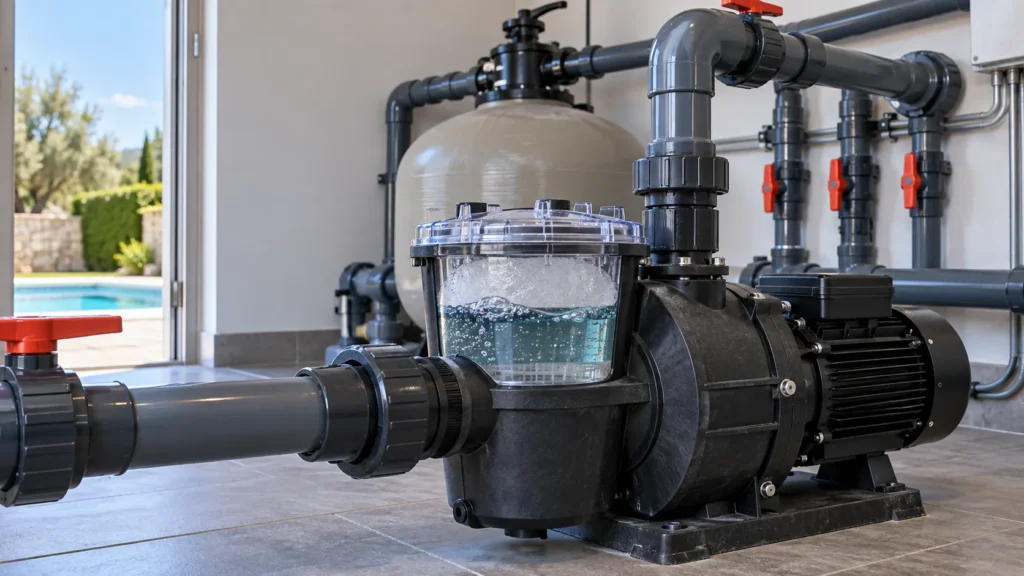
How can you tell if there’s air in the swimming pool pump?
One of the simplest checks is to look at the pump’s pre-filter.
Under normal conditions, once operation has stabilised, the pre-filter should remain full of water or almost full, depending on the model and the installation.
If large air pockets appear, the water flows in erratically or the pump does not fill completely, we must check the priming and the suction circuit.
There may also be other symptoms:
- Bubbles returning to the pool via the jets.
- Water flow is lower than usual.
- Unusual noise coming from the pump.
- Difficulty in starting to draw in water.
- The pre-filter leaks water when the pump stops.
- The pump needs to be primed repeatedly.
The important thing is to distinguish between a small amount of air during start-up and a continuous supply of air during operation.
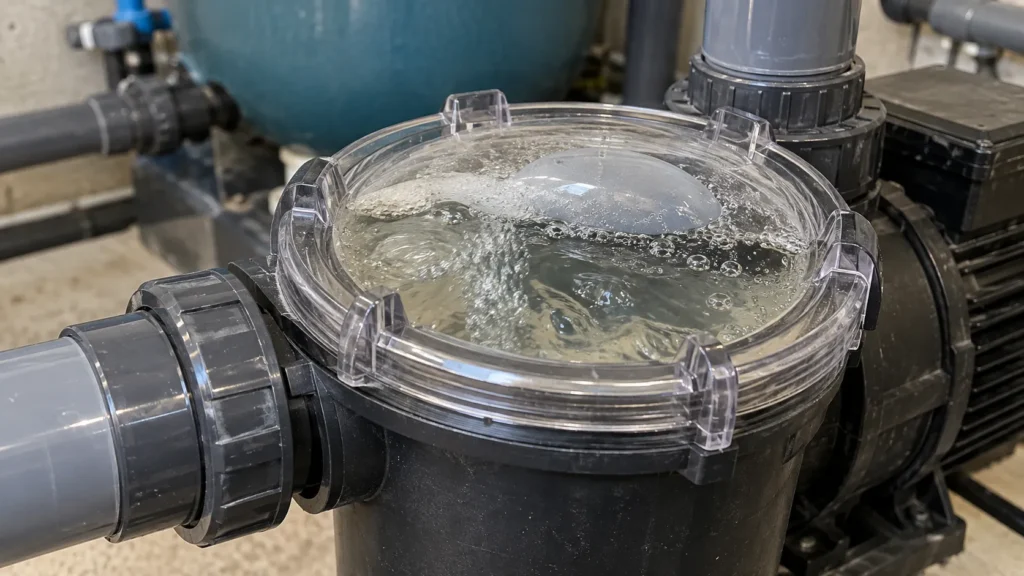
How to prime a swimming pool pump, step by step
The procedure may vary slightly depending on the pump and the hydraulic configuration of each swimming pool. Before carrying out any work, you should always consult the manufacturer’s instructions.
However, in a conventional installation, we can carry out these checks.
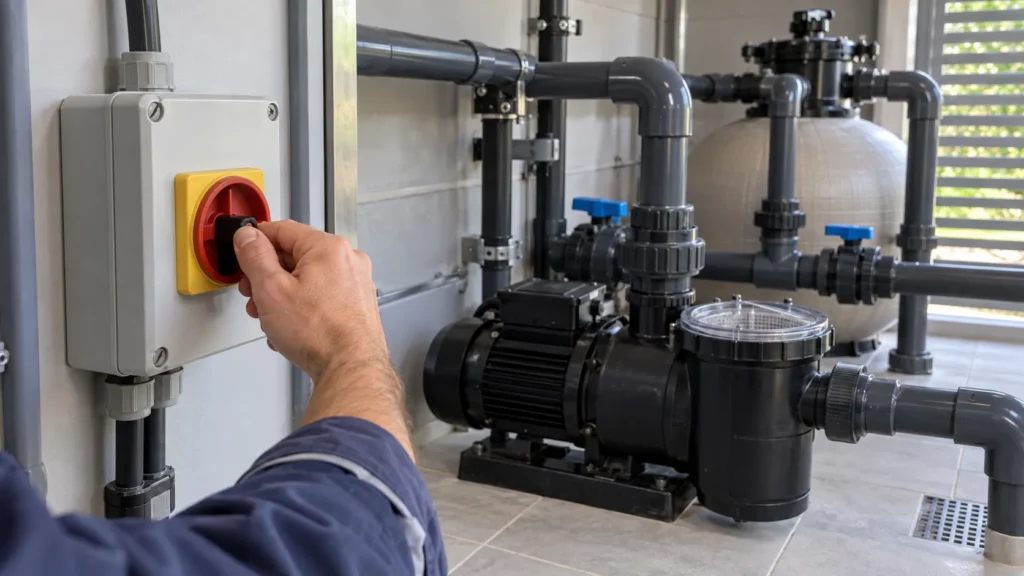
Step 1. Stop the pump completely
Before opening the pre-filter or operating the valves, the pump must be switched off.
If the system has an automatic programme, make sure that it cannot start up whilst you are working.
Do not open the pre-filter whilst the pump is running.
You should also avoid changing the position of a six-way selector valve whilst the pump is running.
What do you need to check?
Ensure that the pump has come to a complete stop before proceeding.
Step 2. Check the water level in the pool
Before you start taking anything apart, check one of the simplest possible causes.
The water level must be such that the skimmer can draw in water properly.
If it is too low, a whirlpool may form inside the skimmer and air may enter the pipe directly.
In that case, we may prime the pump correctly, only to find ourselves facing the same problem again a few minutes later.
It is also worth checking that the skimmer flap moves freely and is not blocking the water inlet.
What’s it got to do with you?
The skimmer must receive a continuous flow of water without drawing in air from the surface.
If it is drawing in air
First, ensure the water level is correct before continuing to investigate a fault with the pump.
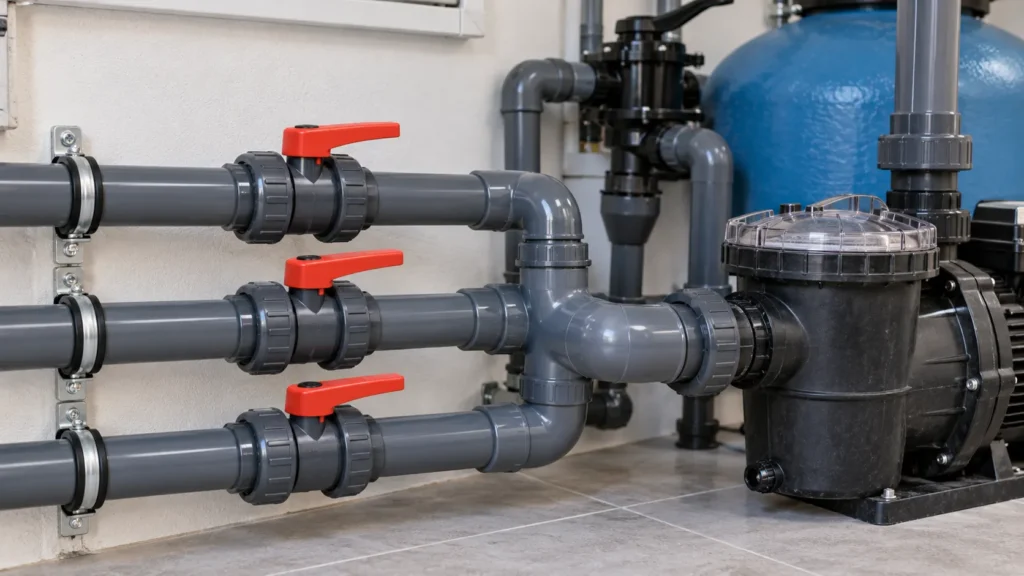
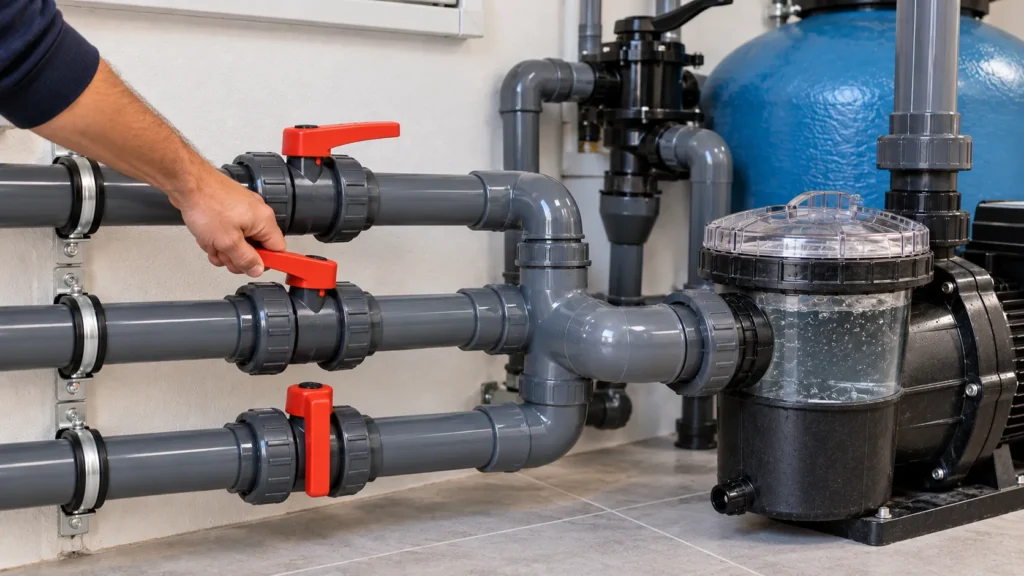
Step 3. Identify the intake valves
Before the pump, there are various pipes leading from the swimming pool.
They usually refer to:
- Skimmer.
- Drain or bottom.
- Cleaning nozzle.
It is important to know what each valve controls.
When there is a lot of air in the system, attempting to open all the valves simultaneously can make priming more difficult.
That is why it may be useful restore one line first and then open the others gradually once the pump has managed to establish a steady flow of water.
The specific configuration will depend on how the installation is constructed.
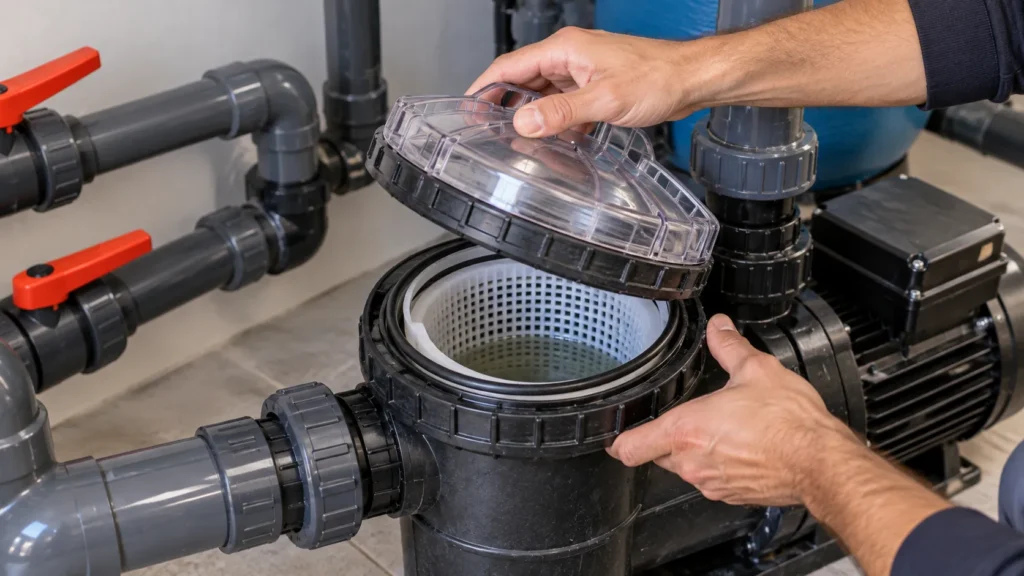
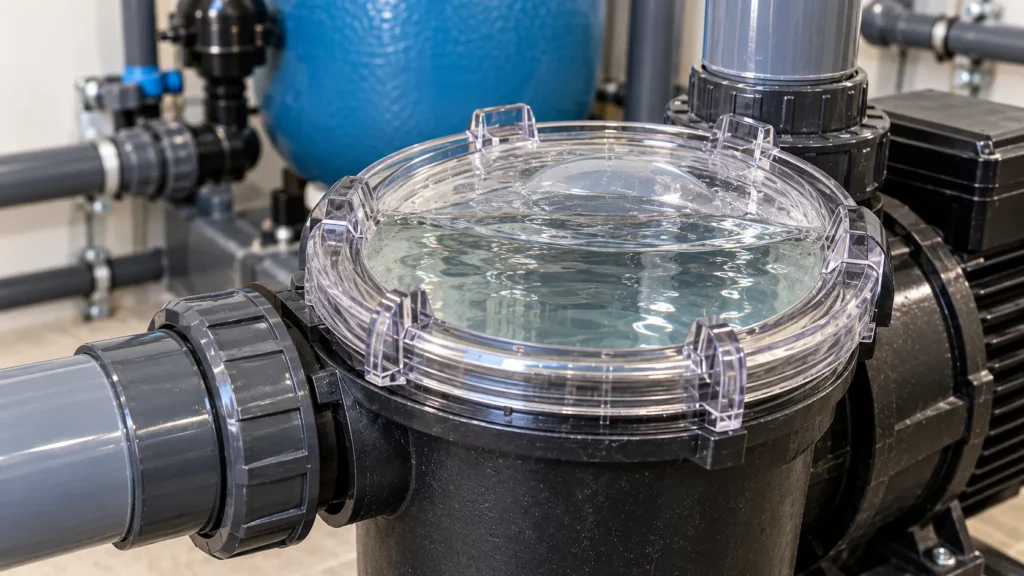
Step 4. Open the pump’s pre-filter
Once the pump has come to a complete stop, we can open the pre-filter cover.
When doing so, check the basket first.
Leaves, hair or other debris can obstruct the flow of water and significantly reduce the available flow rate.
If there is any dirt:
- Remove the basket.
- Wipe it clean.
- Check that it isn’t broken.
- Put it back in the correct position.
This quick check can save you from having to look for more complex problems when there is simply a blockage in the suction system.
Step 5. Fill the pre-filter with water
This is one of the key steps in priming.
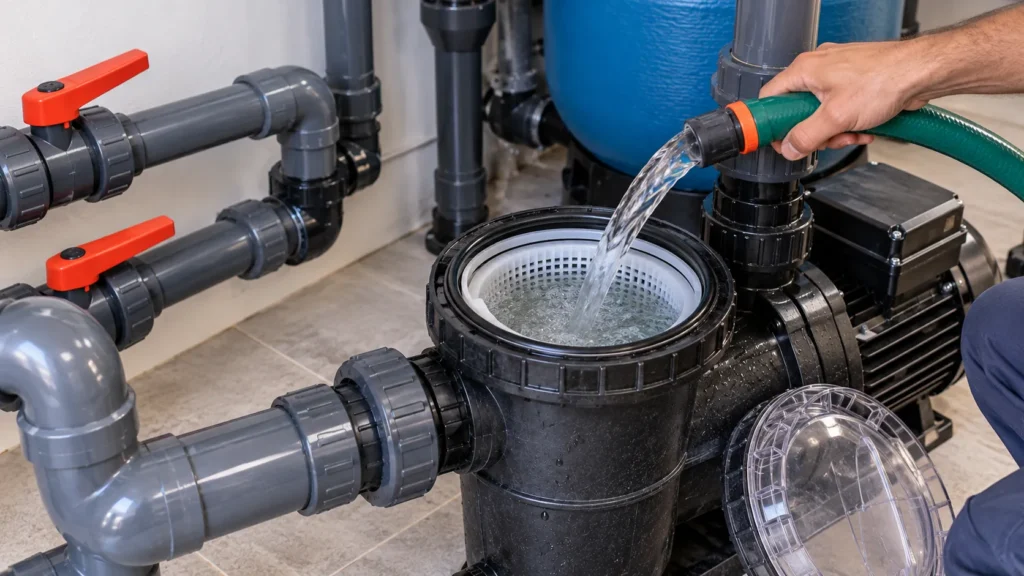
With the lid removed, fill the pre-filter housing with water.
You can do this by using a hose until there is enough water inside the pump to make it easier to prime.
The aim is simple:
to prevent the pump from starting to run completely dry and to help it regain the suction head.
If the pump is situated above the level of the swimming pool, it may be more difficult to re-prime it because the water cannot reach it by gravity.
In these facilities, ensuring that the suction system is airtight is particularly important.
What’s it got to do with you?
The pre-filter housing must be full or have a high water level before closing the lid.
What would happen if the water disappeared?
If, when filling the pre-filter, the water flows back rapidly into the pipe, it may be necessary to repeat the filling process whilst the water column is restored.
If the problem persists, the system will need to be checked for leaks at a later date.
Step 6. Check the lid seal
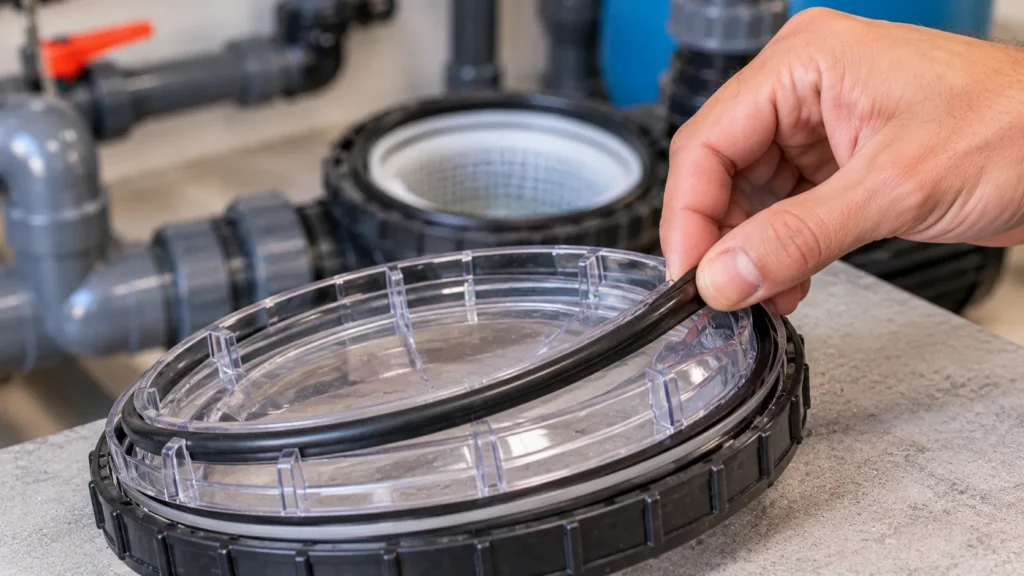
Before closing the pre-filter, take the opportunity to check the O-ring on the cap.
It must be:
- Clean.
- Correctly positioned.
- Uninterrupted.
- No obvious deformities.
- No dirt on the contact surface.
This point is important because the suction system operates under negative pressure.
This means that air can enter through a joint without us necessarily seeing water leaking out.
A poorly fitted seal can cause precisely that problem.
Step 7. Close the pre-filter properly
Refit the lid, ensuring that the seal remains in its housing.
The lid must be correctly fitted and sealed in accordance with the manufacturer’s instructions.
There’s no need to force it too much.
A poorly fitted cover or a misaligned seal may allow air to re-enter as soon as we start the pump.
What do you need to check?
Ensure that the lid sits perfectly along its entire perimeter.
Step 8. Start the pump and check the pre-filter
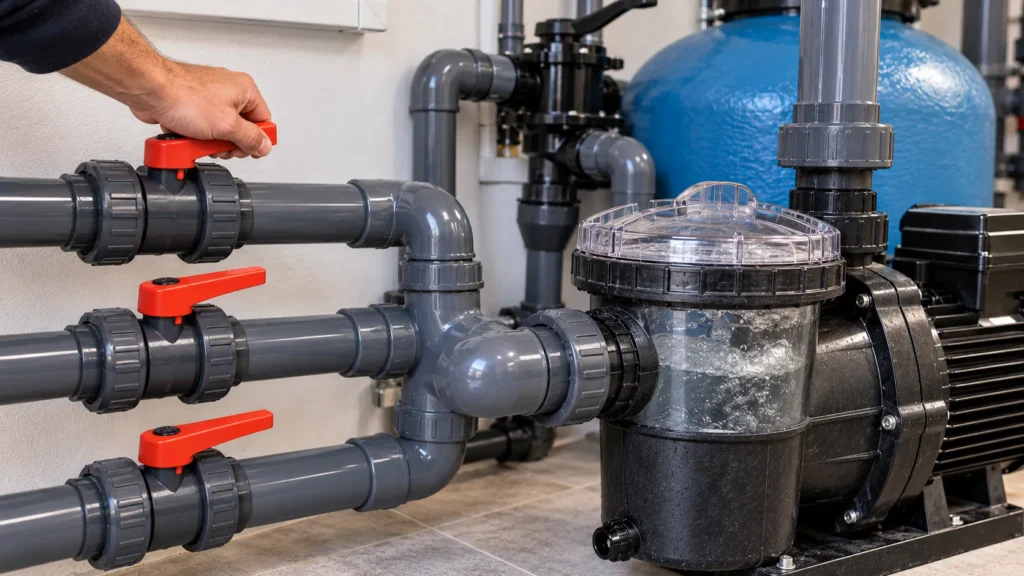
We can now put the pump back into operation.
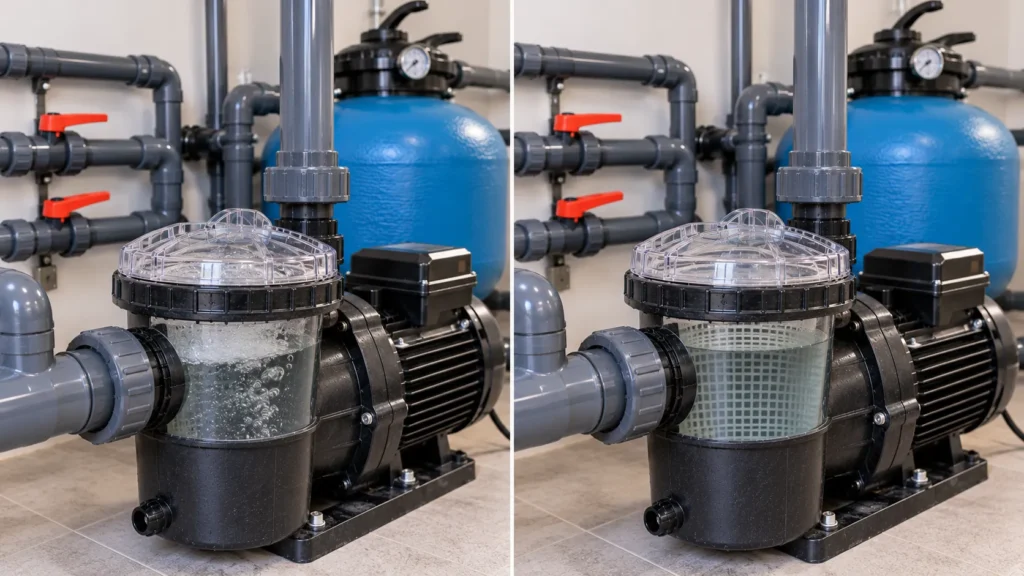
During the initial stages, it is normal to see air inside the pre-filter whilst the pump begins to re-establish suction.
The important thing is to monitor progress.
The water should gradually fill the pre-filter housing as the amount of air decreases.
Correct answer
The flow stabilises and the pre-filter becomes full or almost full of water.
If it doesn’t happen
If the pre-filter remains empty, the pump is unable to draw in liquid or a large amount of air is continuously entering the system; stop the pump.
There’s no point in keeping it running dry whilst waiting indefinitely for it to prime itself.
We need to find out the cause.
Step 9. Gradually open the other suction lines
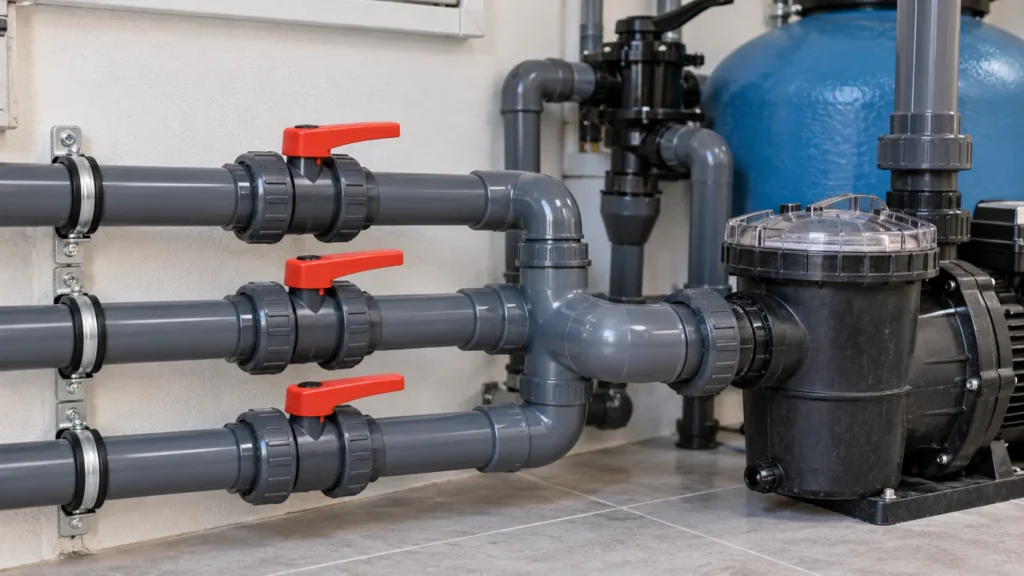
Once a line has been restored and the water flow has stabilised, we can gradually open the rest.
For example:
- We’ve returned to our original ambition.
- We wait until we achieve a steady flow.
- We are gradually opening a second line.
- We examine the pre-filter.
- If the flow remains steady, we’ll carry on opening.
- We repeat the procedure for the other lines.
In this way, we avoid suddenly introducing all the air contained in the various pipes.
There is no single valve setting that is right for all swimming pools.
The configuration will depend on the installation.
Step 10. Bleed any remaining air from the system
Once the pump has regained suction, air may remain trapped in other parts of the system, particularly in the filter.
If the filter is fitted with a manual air-bleed system, use it in accordance with the manufacturer’s instructions.
The idea is to allow the trapped air to escape until the system is operating using water only.
Once the air has been bled, check the overall operation of the system again.
How can you tell if the pump is properly primed?
This is easy to check.
Check the pre-filter again.
A properly primed pump should deliver a steady flow of water and should not retain a large air pocket inside it.
You can also check:
- Stable flow rate through the impellers.
- No large quantities of bubbles.
- Normal pump operation.
- Stable pressure in the filtration system.
- No loss of priming after the system has been shut down and restarted.
What happens if the pump sucks in air again?
This is where the diagnosis changes.
If we have primed the pump correctly but air keeps coming back in, The problem is no longer simply a matter of priming it again.
We need to find out where air is getting in or why the system is losing its water column.
Always start with the simplest checks.
1. Pool water level
Check the skimmer again.
If a whirlpool forms that reaches the pipe, air may be getting in.
2. Pre-filter cover seal
Check:
- Condition of the board.
- Cleaning.
- Fitting.
- Surface on which it rests.
3. Pre-filter cover
Check that it is correctly fitted.
4. Pump inlet fitting
It is one of the first parts of the installation that you should check.
5. Suction connections
Check the fittings, valves and connections located upstream of the pump.
6. Pipes
If all visible components are correctly sealed and air is still escaping, it may be necessary to check the suction pipe for leaks.
The pump is primed but is still only pumping a small amount of water
Air is not the only cause of a loss of flow.
If the pre-filter is full of water and there is no significant air intake, we must continue with the diagnosis.
Check the skimmer basket
A build-up of leaves can significantly restrict the flow of water.
Check the pump strainer
It must be clean and correctly fitted.
Check the filter
A clogged filter can increase pressure drop and reduce flow rate.
Check the pressure gauge and carry out the appropriate maintenance depending on the type of filter fitted.
Check the valves
A partially closed valve may restrict the flow of water.
Check the impeller
If there is an internal blockage, performance may be significantly reduced.
Before carrying out any work on the pump, always switch off the power supply completely.
Check the dimensions
If the problem has existed since the system was commissioned, it may be necessary to check:
- Pump flow rate.
- Pipe diameter.
- Filter capacity.
- Pipe lengths.
- Suction height.
- Number of accessories.
- Pressure drops.
Simply installing a more powerful pump does not necessarily solve a hydraulic problem.
Is a pump that won’t prime the same as a pump that won’t start?
No.
And distinguishing between the two symptoms can save a fair amount of time during the diagnosis.
The motor is running but isn’t pumping any water
Start by checking:
- Primed.
- Air inlet.
- Water level.
- Valves.
- Baskets.
- Aspiration.
The motor hums but doesn’t turn
We are facing a different problem.
Possible causes include:
- Axle locked.
- Impeller blocked.
- Capacitor.
- Power supply.
- Other electrical or mechanical faults.
Can a swimming pool pump run without water?
We must not allow a pump to run dry.
Water is essential for the proper functioning of the pump’s hydraulic components.
If, after starting the machine, we find that it is not drawing in air, we must switch it off, check the priming again and identify the cause of the problem.
Leaving it running whilst waiting for it to finish vacuuming on its own may cause damage.
A priming problem can also originate in the installation
When the problem keeps recurring, you need to look beyond the pump.
A good plumbing system should ensure that the suction line remains airtight and minimise the number of points where air can accumulate.
That is why they must be considered together:
- Position of the pump relative to the water level.
- Pipe diameter.
- Length of the suction line.
- Number of elbows and fittings.
- Leak-tightness of the joints.
- Valve settings.
- Accessibility for maintenance.
A pump situated well above the level of the swimming pool will have different suction conditions to one installed below the water level.
With the pump switched off, open the pre-filter, check the basket, fill it with water, check the seal, close the lid properly and restart the pump in accordance with the manufacturer’s instructions.
If there are several suction points, it may be helpful to retrieve one line first and then open the others one by one.
There may be various causes: loss of priming, air ingress, insufficient water level, incorrectly positioned valves, blocked strainers or problems within the suction circuit.
A continuous stream of bubbles may indicate that air is entering via a point in the suction system.
Start by checking the water level, the skimmer, the pre-filter seal and cover, the connections and the valves.
In a properly functioning system, it should not be necessary to prime the pump continuously.
If the prime is lost after every stop, we need to identify why air is entering the system or why the water column is being lost.
A self-priming pump also needs a supply of water when it is started up.
The manufacturer’s specific instructions for each model must always be followed.
Stop the pump.
Check the water level, valves, baskets, lid seal and suction connections again.
If the problem persists, a more thorough diagnosis of the system will be required before concluding that the pump is faulty.
Conclusion
When a pump is running but is not circulating the water properly, checking the priming is one of the first steps in troubleshooting.
The procedure involves drawing water into the pump, gradually removing the air from the circuit and checking that the suction remains stable.
But there is one important difference:
If we prime the pump once and it works, we have probably sorted out a one-off priming problem.
If we have to do it all the time, we need to find out why.
The water level, skimmer, pre-filter seal, valves, fittings and suction pipes are some of the first things you should check.
A systematic diagnosis enables the source of the problem to be identified before replacing components unnecessarily.
Are you a professional in the swimming pool sector and need help choosing a pump or planning an installation?
Take a look at our range of pumps or get in touch with the TRYPOOL technical team.


 Español
 English (UK)
 Français
 Português